Sushi 101: Roll, Baby, Roll


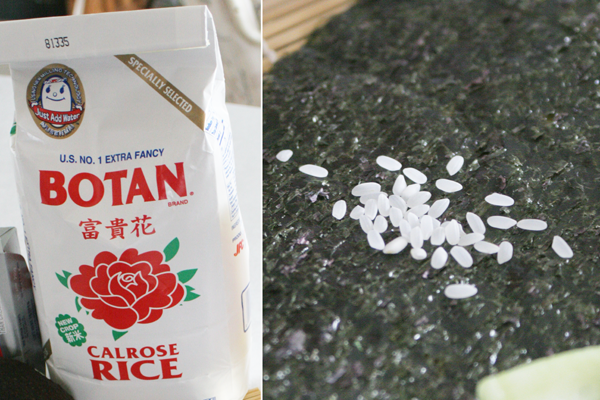
To make a Sushi roll, you need to start with Sushi Rice. Regular white rice won’t work, so please, use the Sushi Rice. You’ll also need a bamboo rolling mat and some Nori (seaweed). Beyond that, its kinda of up to you! Get creative.
A couple of tips when choosing Nori. It is generally said that the darker the color the milder the flavor. So if you’re not really into the seaweed flavor – go as dark as you can. You can also get Nori that is toasted or roasted – again, its a little different flavor. You may want to try several kinds and see what you like. I used a Yaki Nori that was toasted. My local oriental store sold it in packages containing 10 or 50 sheets. You’ve got options!
Next… the mat. Obviously the bamboo mat and the sushi rice may not always get along well. So, unless you want to clean sticky rice from the slants on your mat… you may want to follow some advice I received and cover your mat with plastic wrap before you work. You’ll need to use a cling wrap that adheres to itself well, and you’ll want to cover the entire mat (all the way around). One long piece should do, just make sure it overlaps itself as it comes back around. Note: a bamboo mat is pictured above underneath the trays.
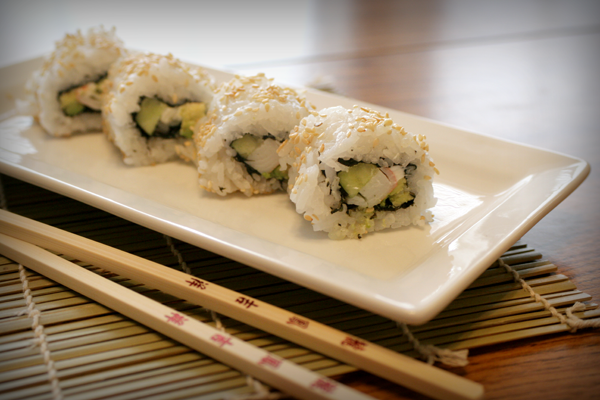
Lastly, sushi is traditionally eaten whole and inserted into the mouth with the thumb and index finger. It is not considered appropriate to bite pieces from the sushi either – you should eat each piece whole. And I’m pretty sure its just an American thing to use chopsticks to eat sushi (correct me if I’m wrong). They were photographed above for aesthetic purposes.
Now that we’ve covered the basics…
Let’s talk California Roll.
California Roll
-Sushi Rice
-Nori
-Cucumber
-Imitation Crab, in sticks
-Avocado (optional, but common/recommended)
-Cream Cheese (optional)
-Sesame Seeds, toastedBegin with your (plastic wrap covered) bamboo mat placed on the table or counter in front of you with the bamboo slats aligned horizontally with your body, so you’ll be able to roll the sushi away from you.
Get a sheet of Nori and carefully fold it in half creasing on the seam. It should break easily. Place the half sheet on the bamboo mat so the long side aligned horizontally to your body. In other words the the long side of the Nori should be parallel to the slants on the bamboo mat. The shiny side should be against the mat.
Get a small handful of the sushi rice and gently press it on to the Nori until you’ve covered the entire surface. It need only be about 1/4″ thick. Remember, press gently – no need to smash the life out of the rice.
Now, since California Roll has the rice on the outside, carefully turn over the rice-covered Nori.
Cut your Cucumber, Avacado, and Crab into long strips. Place one strip of each lengthwise across the center of the Nori.
If you are using cream cheese, get a small amount in your fingertips and gently shape into into a long strip, and place it in the center with the other items.
Don’t overfill. You have to be able to roll it up.
Carefully lift the edge of the bamboo mat closest to you until the sushi begins to roll on top of itself – roll away from you. Use a lift, roll, and release motion to complete your roll. Press gently on the mat as you go to seal it all together. Again, don’t squeeze.
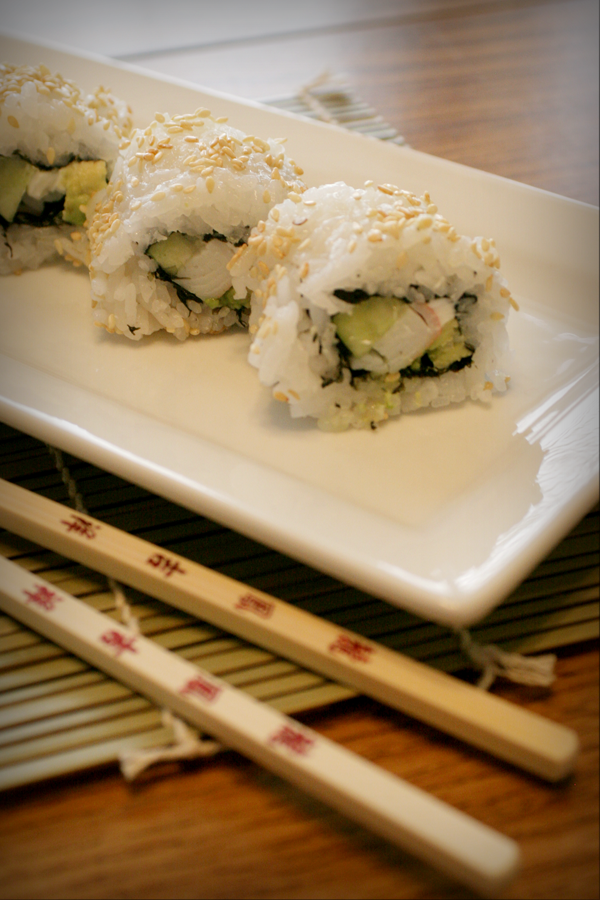
When your roll is nicely sealed, carefully lift it from the bamboo mat and roll in toasted sesame seeds.
Transfer to a cutting board and use a REALLY SHARP knife to slice it. (Note: There are actual ‘sushi knives’ available)
Enjoy with wasabi, ginger, soy sauce, or just as they are.
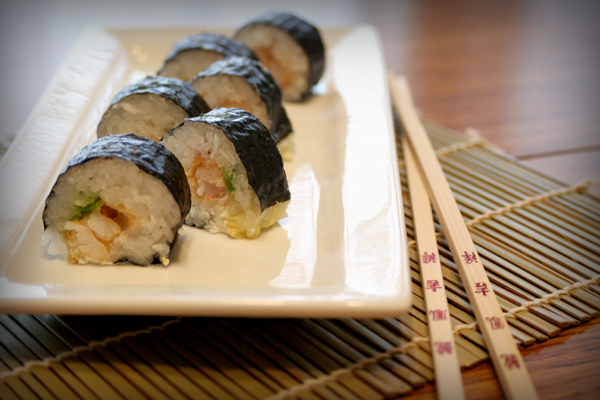
The other roll pictured above is a variation of a Dunwell Roll. It has deep-fried, breaded shrimp, jalapeño, and cream cheese. This roll has the Nori on the outside (so don’t flip over your rice-covered Nori this time, just place the ingredients on the rice), and typically includes a spicy sauce.
We skipped the spicy sauce this time, but if you want to make some its a simple combination of mayonnaise and chili paste. 4 parts mayo to 1 part chili paste.
Once you have the basics of rolling Sushi, you can really fill them as desired. Go crazy.
Bon Appetit!
Posted in Ethnic Foods, Sushi • 1 Comment »


